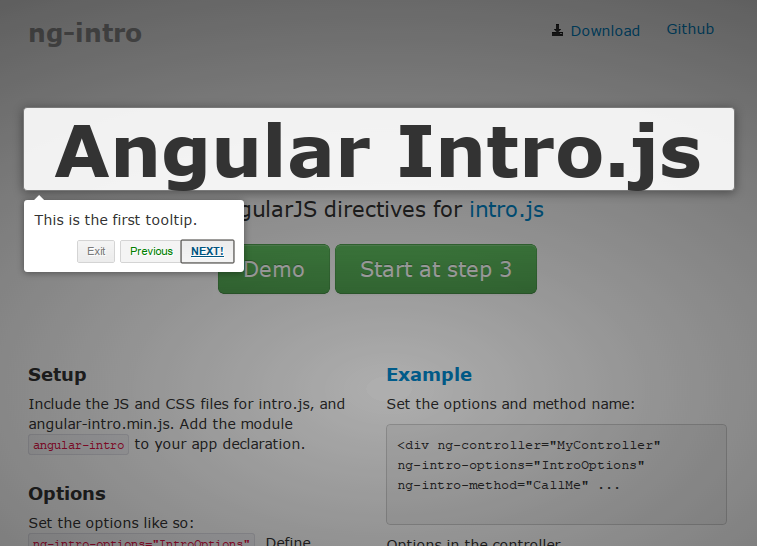
An angularjs directive that wraps intro.js functionality.
See the project page for an overview.
You can install this package through Bower by using the following command :
bower install angular-intro.js --save
You can install this package through NPM by using the following command :
npm install angular-intro.js --save
You can use this package in your webpack project, first by including intro.js and its css file. Next you need to require this package.
import ngIntro from 'angular-intro.js';
This project will return the whole angular module so if you want to use as a dependency in your own angular module you would need to reference the name ngIntro.name.
You can use the two main directives, which are ng-intro-options and ng-intro-method, or you can include the service called ngIntroService
As a directive - ng-intro-options="IntroOptions"
As a service - ngIntroService.setOptions(IntroOptions)
You should create a $scope.IntroOptions in your controller which contains the intro.js options. The options are exactly the same as the original. This also allows you to modify the options as part of your controller behavior if necessary. You don't have to use IntroOptions, you can specify some other name.
As a directive - ng-intro-method="CallMe"
As a service - ngIntroService.start()
The directive will create a method on $scope.CallMe so that you can invoke it yourself later. Make sure the there isn't a method CallMe already in your controller. To use the method be sure to wrap it with $timeout. You don't have to use CallMe, you can specify some other name.
You can invoke it from an event such a click,
ng-click="CallMe();"
as long as you are still in the same controller scope. You can also specify a step number in the method call, CallMe(3);.
You can start the intro from code, either call $scope.CallMe();. If the $scope.CallMe(); doesn't work, it might be because your DOM isn't ready. Put it in a $timeout.
If you set ng-intro-autostart="true", the intro will start as soon as the directive is ready.
If an intro tour includes dynamic content, use ng-intro-autorefresh="true" to call Intro.js' refresh method.
Intro.js provides several callbacks. You can receive these callbacks in your controller. For example, for the onchange event, specify the function name in the directive.
ng-intro-onchange="ChangeEvent"
In your controller, create ChangeEvent
$scope.ChangeEvent = function (targetElement, scope) {
    console.log("Change Event called");
    console.log(targetElement); //The target element
    console.log(this); //The IntroJS object
};
The other intro.js callbacks you can specify are ng-intro-oncomplete, ng-intro-onexit, ng-intro-onchange ng-intro-onbeforechange and ng-intro-onafterchange.
There are two ways of make use of callbacks:
Using promises
The methods that return promises:
onCompleteonExitonBeforeChangeonAfterChangeonChange
Using watches (not recommended, available for compatibility)
`scope.$on('ngIntro-onAfterChange', function () {
ngIntro.exit();
´
Its triggers are:
-
ngIntro-onComplete -
ngIntro-onBeforeChange -
ngIntro-onChange -
ngIntro-onAfterChange -
ngIntro-onExit -
ngIntro-onHintclick -
ngIntro-onHintclose -
ngIntro-onHintsAdded
Directive - ng-intro-exit-method="ExitMe"
Callback - $scope.ExitMe(function() { //callback } );
You can also call $scope.ExitMe() from your controller.
Service - ngIntroService.exit()
Callback - ngIntroService.onExit().then(function(){ console.log('do something.') });
You may use as Directive as shown here
or
alternatively as Service as shown here
If you want to build or contribute, first, get the node modules needed (grunt, bower)
npm install
Next, use bower to get the JS libraries needed
node_modules/.bin/bower install
Then, whenever you make any changes, get grunt to build the minified angular-intro.min.js
node_modules/.bin/grunt
Finally, view the demo page to make sure everything's working; start a web server:
./node_modules/.bin/grunt connect:server
And browse to http://localhost:8000/example/index.html
Same as intro.js, this is AGPL
