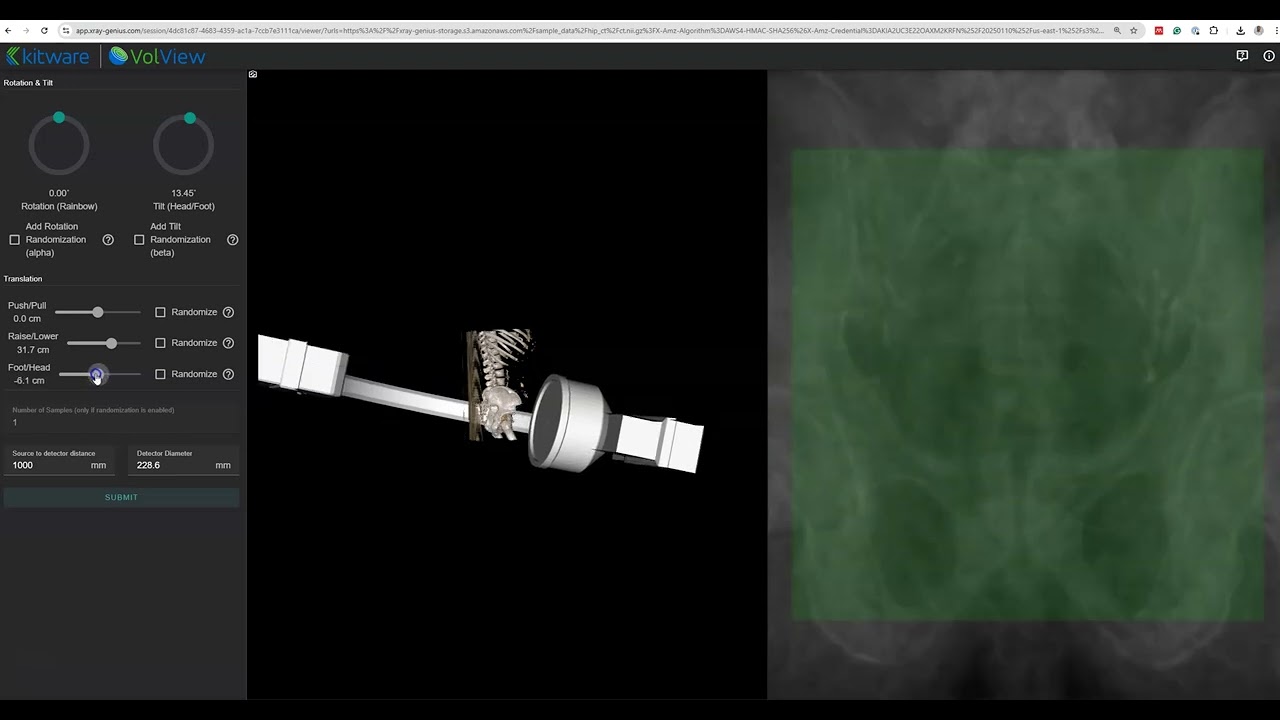
X-ray Genius is a web-based application that leverages modern simulation pipelines to generate Digitally Reconstructed Radiographs (DRRs) from input CT images.
- 🏥 Clinical utility: generates X-ray images from CT scans for orthopedic, surgical planning, radiation therapy, and other medical applications where X-ray imaging is unavailable or unarchived.
- 🌐 Web-based: accessible through a modern web interface with containerized deployment.
- ⚙️ Modular & customizable: designed to support AI/ML biomedical research pipelines.
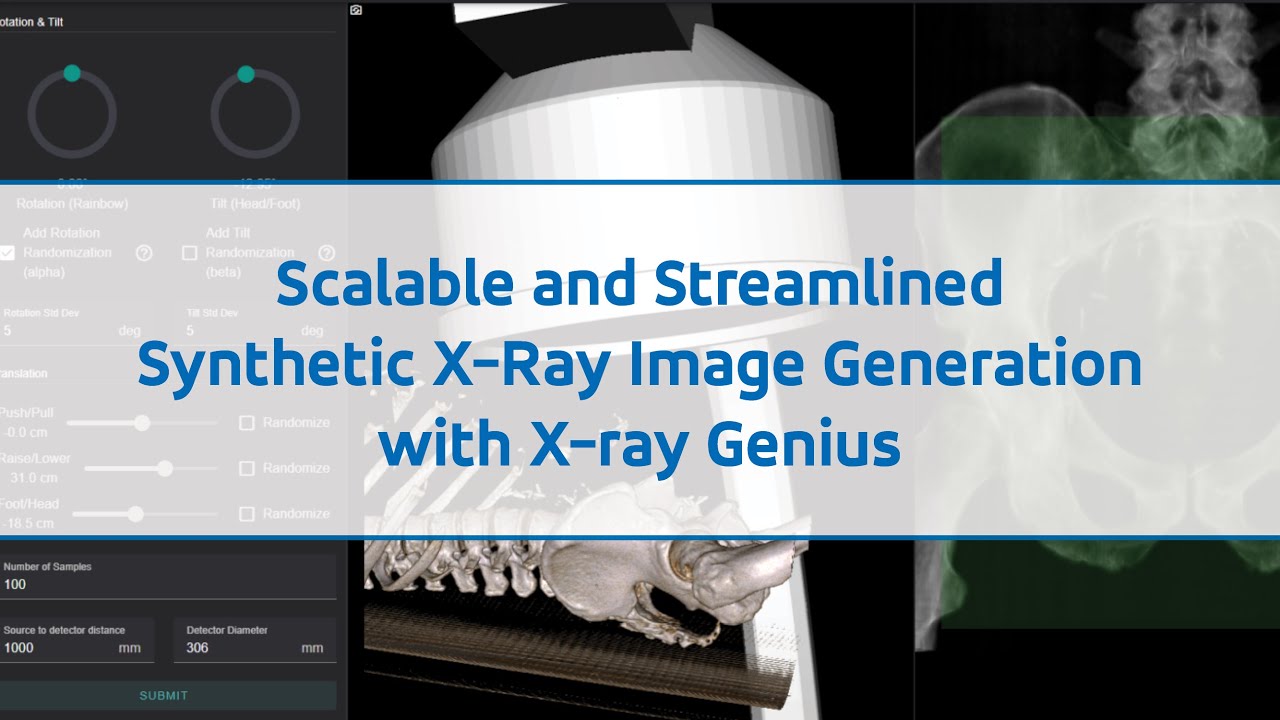
See X-ray Genius in action. Watch a short video showing how it generates X-ray images.
Watch our webinar discussing X-ray Genius and its applications in medical imaging:
-
git clone <repo-url> -
cd <repo-folder> -
git submodule update --init --recursive
This is the simplest configuration for developers to start with.
- Note: Ensure that you clone the repository with submodules. If you've already cloned it without submodules, run
git submodule update --init --recursive. - Install Nvidia GPU drivers, cuda (<=11), and the
nvidia-container-toolkitif they are not already installed.- You can verify that the
nvidia-container-toolkitis installed by runningnvidia-ctk --version.
- You can verify that the
- Run
docker compose run --rm django ./manage.py migrate - Run
docker compose run --rm django ./manage.py createsuperuserand follow the prompts to create your own user - Optionally, run
docker compose run --rm django ./manage.py load_test_datato load some sample data into your system.
- Run
docker compose up - Access the site, starting at http://localhost:8000/admin/
- When finished, use
Ctrl+C
Occasionally, new package dependencies or schema changes will necessitate maintenance. To non-destructively update your development stack at any time:
- Run
docker compose pull - Run
docker compose build --pull --no-cache - Run
docker compose run --rm django ./manage.py migrate
This configuration still uses Docker to run attached services in the background, but allows developers to run Python code on their native system.
- Note: Ensure that you clone the repository with submodules. If you've already cloned it without submodules, run
git submodule update --init --recursive. - Run
docker compose -f ./docker-compose.yml up -d - Install Python 3.12 and Node.js 18
- Install
psycopg2build prerequisites - Install Nvidia GPU drivers and cuda (<=11) if they are not already installed.
- Create and activate a new Python virtualenv
- Run
pip install -r requirements.dev.txt -r requirements.worker.txt- If you have multiple versions of CUDA installed, you must ensure that this
pip installcommand uses CUDA <= 11 to buildpycuda. e.g. something likeCUDA_ROOT=/usr/local/cuda-11.5 PATH=/usr/local/cuda-11.5/bin:$PATH pip install pycuda==2025.1
- If you have multiple versions of CUDA installed, you must ensure that this
- Run
source ./dev/export-env.sh - Run
./manage.py migrate - Run
npm ci - Run
cd viewer && npm install && npm run build - Run
cd .. - Run
./manage.py createsuperuserand follow the prompts to create your own user
- Ensure
docker compose -f ./docker-compose.yml up -dis still active - Run:
source ./dev/export-env.sh./manage.py runserver
- Run in a separate terminal:
source ./dev/export-env.shcelery --app xray_genius.celery worker --loglevel INFO --pool solo
- Run in a separate terminal:
npm start
- Optionally, run
./manage.py load_test_datato load some sample data into your system. - When finished, run
docker compose stop - To destroy the stack and start fresh, run
docker compose down -v
tox is used to execute all tests.
tox is installed automatically with the dev package extra.
When running the "Develop with Docker" configuration, all tox commands must be run as
docker compose run --rm django tox; extra arguments may also be appended to this form.
Run tox to launch the full test suite.
Individual test environments may be selectively run. This also allows additional options to be be added. Useful sub-commands include:
tox -e lint: Run only the style checkstox -e type: Run only the type checkstox -e test: Run only the pytest-driven tests
To automatically reformat all code to comply with
some (but not all) of the style checks, run tox -e format.
- GPU: NVIDIA GPU with CUDA support (CUDA ≤ 11)
- OS: Linux, macOS, or Windows with WSL2
- Docker: Docker and Docker Compose
- Python: 3.12+ (for native development)
- Node.js: 18+ (for native development)
- GPU Memory: 8GB+ VRAM recommended for processing large CT volumes
- RAM: 16GB+ system memory
- Storage: 50GB+ available space for Docker images and data
Note: While Kitware has deployed X-ray Genius in production using AWS (Heroku + EC2 + S3), the cloud deployment infrastructure and operational procedures are not included in this open-source distribution. This repository provides the application code for local development and testing using Docker Compose.
For production cloud deployment, organizations will need to implement their own infrastructure setup. The containerized architecture makes it suitable for various cloud platforms.
We welcome contributions! Please feel free to:
- Submit bug reports and feature requests via GitHub Issues
- Fork the repository and submit pull requests
- Improve documentation and examples
- Fork the repository
- Create a feature branch (
git checkout -b feature/amazing-feature) - Commit your changes (
git commit -m 'Add amazing feature') - Push to the branch (
git push origin feature/amazing-feature) - Open a Pull Request
This project is licensed under the LICENSE file in the repository.
X-ray Genius is a research tool intended for educational and research purposes. It is not intended for clinical diagnosis or treatment decisions. Always consult with qualified medical professionals for any medical-related applications.