This repository contains the code of backend application for the project PETRADAR (Client Team - 4 and Development Team - 1). For this project we have used Springboot, mysql & AWS for developing this application.
To access the Frontend (Mobile Application) of this application here is the link to that repository PetRadar FrontEnd
To access the web page of this application here is the link to that repository PetRadar Web
For building and running the application you need:
- Download OpenJDK 19.0.2 from https://jdk.java.net/archive/ using the Windows ZIP archive.
- Extract the ZIP archive to a directory of your choice. For example, you can extract it to "C:\Program Files\Java\jdk-19.0.2".
- Set the JAVA_HOME environment variable to the installation directory of the JDK. To do this, open the Control Panel and go to System and Security -> System -> Advanced system settings -> Environment Variables. Under System Variables, click New and set the following values:
 Variable name: JAVA_HOME
 Variable value: C:\Program Files\Java\jdk-19.0.2
- Download Maven 3.8.7 from https://maven.apache.org/download.cgi.
- Extract the ZIP archive to a directory of your choice. For example, you can extract it to "C:\Program Files\Maven\apache-maven-3.8.7".
- Set the MAVEN_HOME environment variable to the installation directory of Maven. To do this, go to Environment Variables again and set the following values:
Variable name: MAVEN_HOME
Variable value: C:\Program Files\Maven\apache-maven-3.8.7
- Add the bin directories of both Java and Maven to the PATH environment variable. To do this, edit the PATH variable under System Variables and add the following values:
%JAVA_HOME%\bin;%MAVEN_HOME%\bin;
- Open a new command prompt and verify that both Java and Maven are installed correctly by running the following commands:
java --version
mvn --version- Download OpenJDK 19.0.2 from https://jdk.java.net/archive/ using the macOS DMG image.
- Double-click the DMG image to mount it.
- Double-click the PKG file to start the installation process.
- Follow the instructions in the installer to install OpenJDK. By default, it will be installed to /Library/Java/JavaVirtualMachines/jdk-19.0.2.jdk/Contents/Home/.
- Set the JAVA_HOME environment variable to the installation directory of the JDK. To do this, open Terminal and run the following command:
echo "export JAVA_HOME=/Library/Java/JavaVirtualMachines/jdk-19.0.2.jdk/Contents/Home/" >> ~/.bash_profile- Download Maven 3.8.7 from https://maven.apache.org/download.cgi.
- Extract the ZIP archive to a directory of your choice. For example, you can extract it to "/usr/local/apache-maven-3.8.7".
- Set the MAVEN_HOME environment variable to the installation directory of Maven. To do this, open Terminal and run the following command:
echo "export MAVEN_HOME=/usr/local/apache-maven-3.8.7" >> ~/.bash_profile- Add the bin directories of both Java and Maven to the PATH environment variable. To do this, edit the ~/.bash_profile file and add the following values:
export PATH=$JAVA_HOME/bin:$MAVEN_HOME/bin:$PATH
- Save and close the file.
- Refresh the Terminal session by running the following command:
source ~/.bash_profile
- Verify that both Java and Maven are installed correctly by running the following commands:
java --version
mvn -version
Clone the project into your local machine. Check out to ___________ branch Run the following command at the location where the pom.xml file is present that is (group01/Backend/)
mvn clean install compileThen execute the following command to run the services
mvn spring-boot:runYou will be able to notice that the application has started to run on port 8085 To test if the services are up and running, click on the following link: Test Service
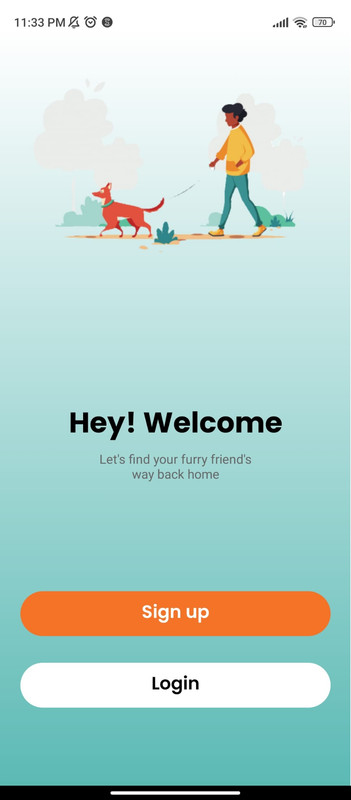
Welcome Page of our App, see above figure. If you have installed our app for the first time you can start with the signup process. If you are already an existing user then you can click on the login button.
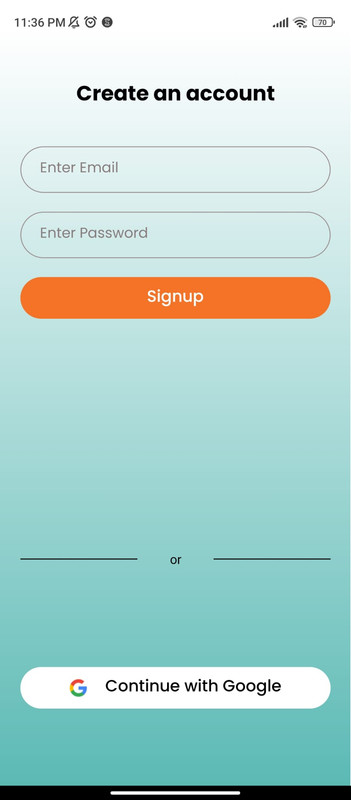
If you are using our app for the first time then by clicking on the signup button on the landing page you will get navigated to the signup page, see above figure. You can signup by entering your email id and password.
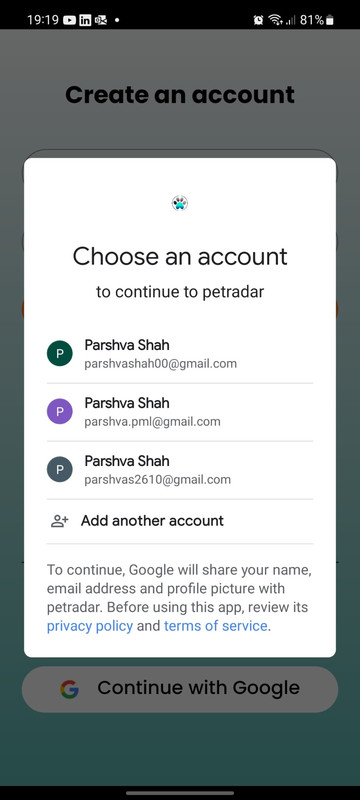
There is also one more option for signup with Google as shown in above figure.
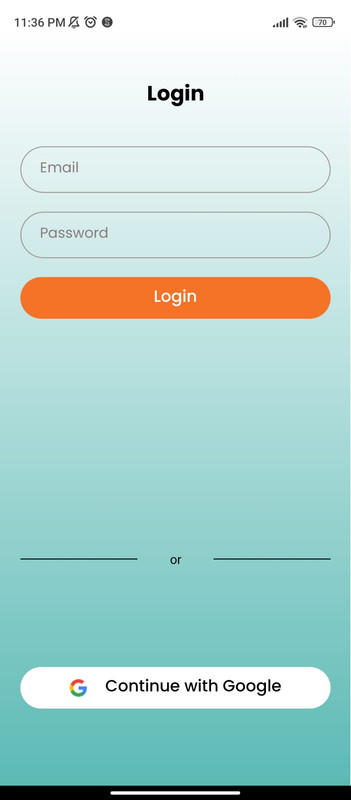
If you are already our user you can select the login button from the landing page and the you will be directed to our login page see above figure. You can also login via the Google Authentication.
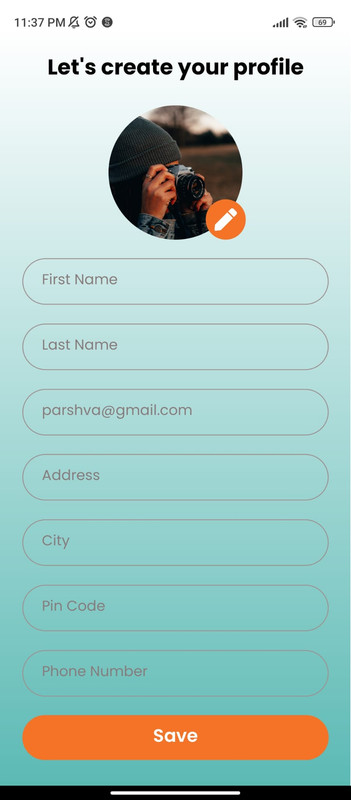
After signing up, you will be directed to create your profile in the app. Here you will be prompted to add your details like first name, last name, email (automatically fetched from signup), address, city, pin code, and phone number as shown in above figure.
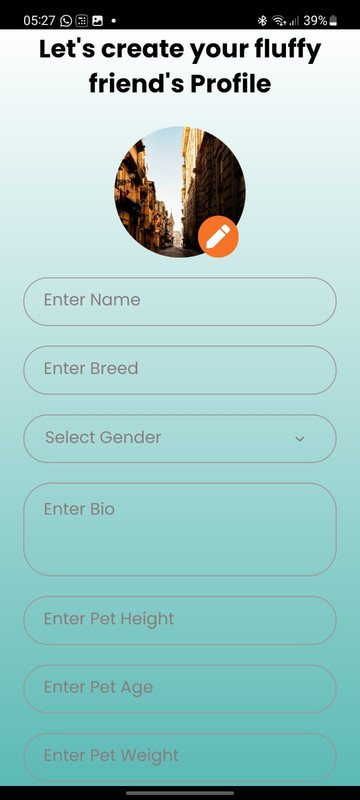
Once user profile is registered you will be prompted to create your pet’s profile by entering the details as per the requirement as shown in above figure. Once all the details are filled up then you can click on save button.
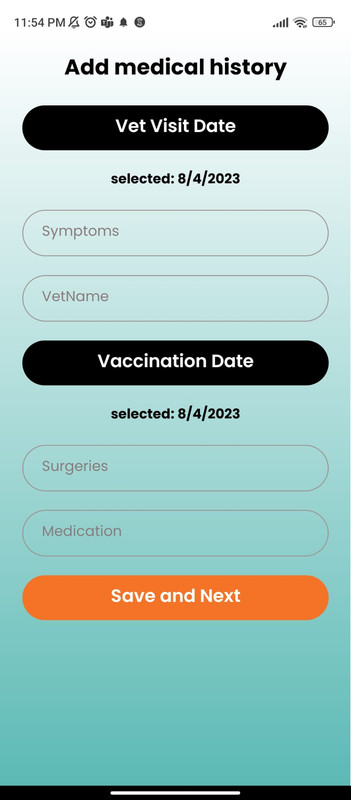
Once the pet profile is created then it will be directed to adding the medical history for the pet. See above figure, it contains a form where the user can add the medical history of his own pet which also includes the Vet visit date as well the vaccination date of his pet.
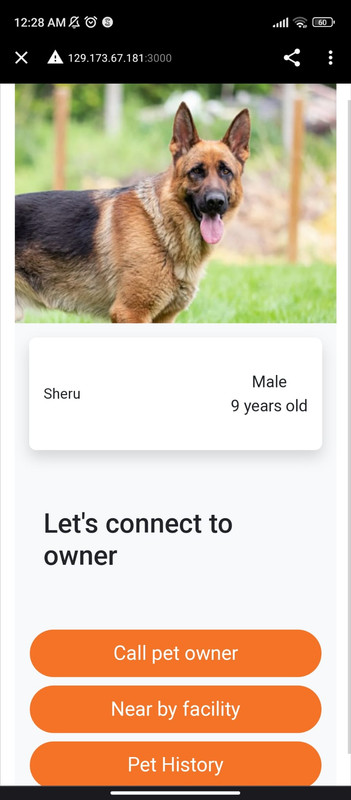
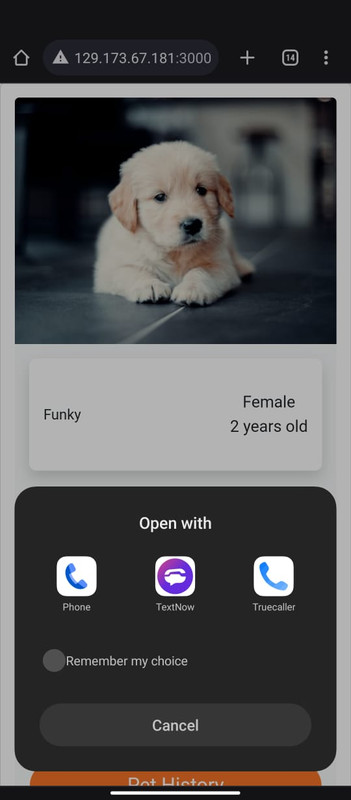
If the person scans the QR code of a pet then it will pop up the pet details in the web page itself. The pet details will be displayed like this, see above figure. Here it will display the pet’s profile image, name, gender, and age. Here the person will get the call-to-action buttons for Calling pet owner, Nearby facilities and pet medical history for the pet. Here on pressing the call to owner the native phone's dialer is shown as shown in above figure.
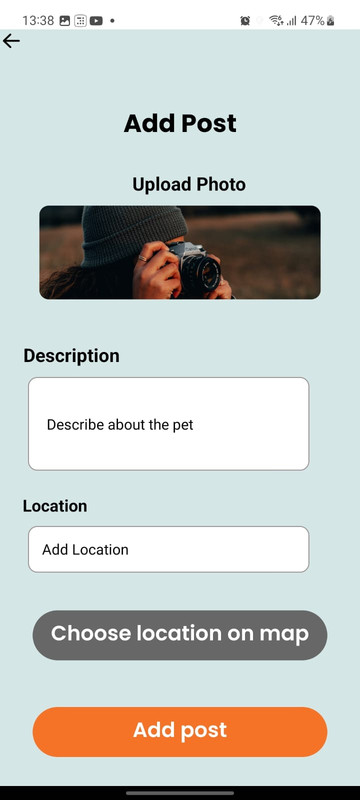
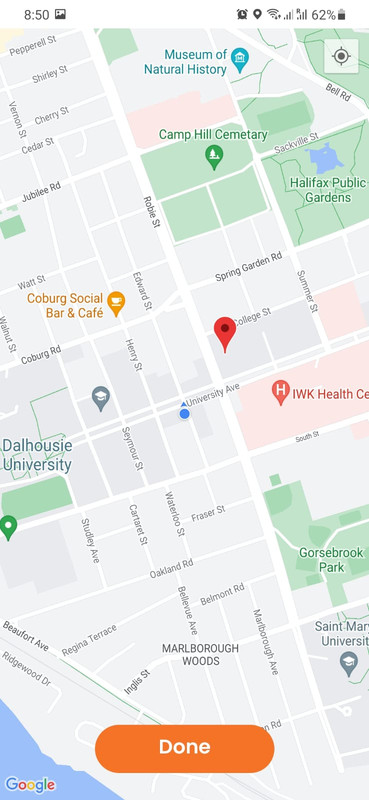
If the user losses his pet then he can upload a picture of his pet then he can upload picture of the pet and add a description along with selecting the location so that other registered users will get notified in that locality. See above figure, for the add post screen. Here the location will be selected based on the user's pin drop on the map.

If multiple posts are made together then all the registered pet owners can see all the posts and recognize the latest pet updates about the locality. And if the owner finds his pet then he can also confirm that his pet is found from the above option, see above figure. Once the user confirms it the post will be disappeared from the feed screen automatically.
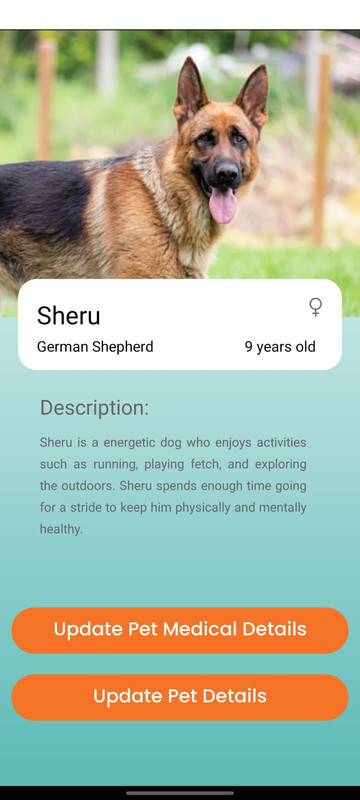
See above figure, it shows the pet details screen which consists of all the pet details like name, breed, gender, age, description, and pet image. Moreover, if you click on the ‘Show Medical Records’ button then it will direct you to the medical history of the pet. By clicking ‘Update details’ you will be redirected to the pet profile screen
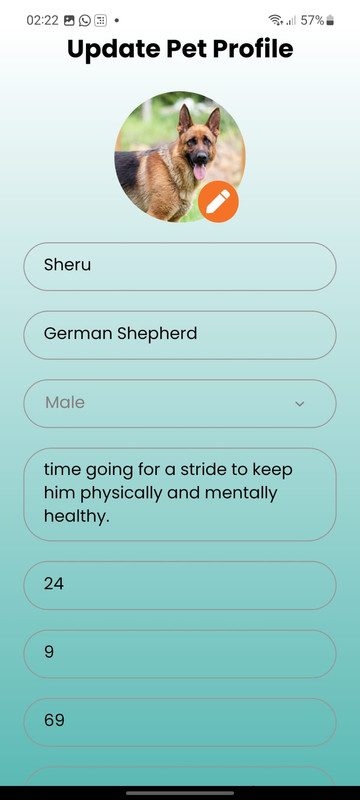
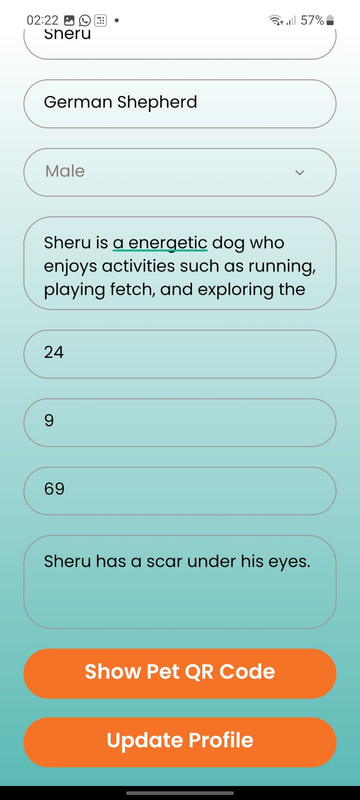
As it can be seen from above figure, we can edit the pet details if we have entered something wrong while registering the pet. Hereafter editing all the details of the pet you can scroll down the page and then there are two options available see above second figure. There are two options once you open the update pet details page. While selecting the ‘Show Pet QR Code’ a QR image will pop up and that will be a unique code for each registered pet. While scanning the QR code it will be directed to the web page as shown in above step of Show Pet Details on Web Page.
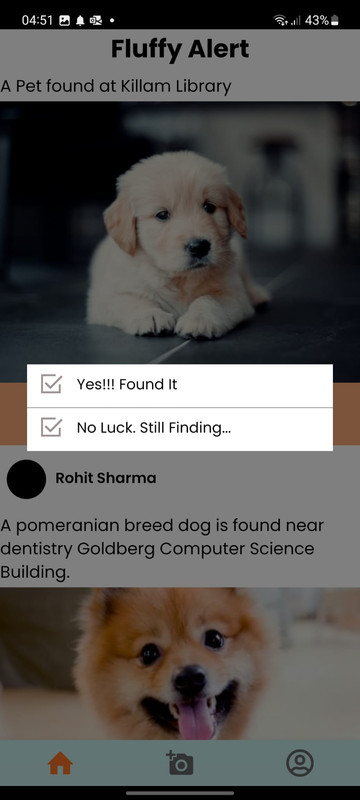
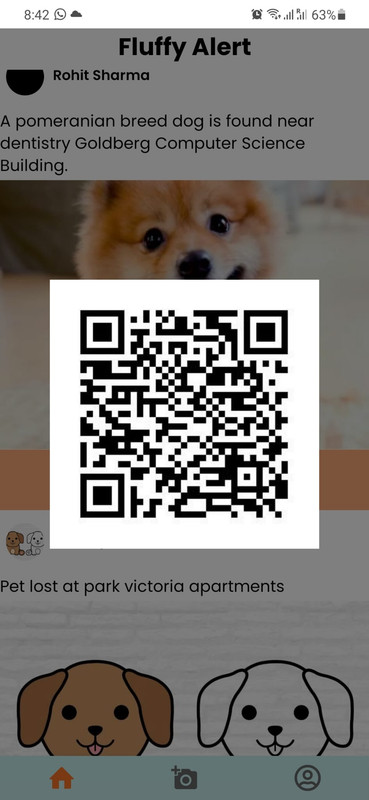
If the user finds the pet then he can select the option ‘Found?’ and then they will get two options, see figure and they can update about the status of the pet. Once they select ‘Yes!!! Found It’ the post will be disappeared from the feed screen from all the registered users. Here a QR is also shown to the owners who are not the owner of that post/feed. This QR code helps them to easily contact the pet owner as shown in the above figure.
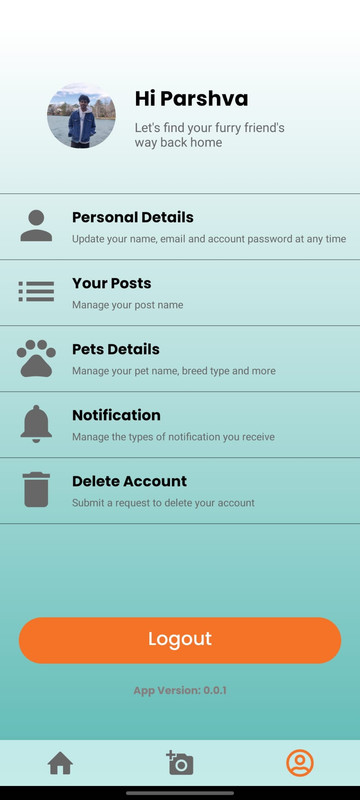
If you click on the third icon it will direct you to the profile settings page, see above figure. Here, it shows the options of updating the ‘Personal Details’, ‘Your Posts’, update ‘Pet Details’, ‘Notification’ access, and ‘Delete Account’ options. If you are not using the app frequently then you can also click on the ‘Logout’ option and it will log out of your account.

- Group 1
- Jeet Mehta Banner Id: B00945900
- Sankeerth Rani Banner Id: B00932027
- Dhruvin Dankhara Banner Id: B00926164
- Parshva Shah Banner Id: B00928689
- Lokeshwar Tabjula Banner Id: B00936909